I finally finished my bench that I started on back at the end of summer. It now sit in my living room next to my computer desk where when I want to do some woodworking I can just get up and go for it, now since I live in an apartment that is carpeted working with just my handtools is the only option inside. This has giving me some time to really reconnect with what I fell in love with about woodworking in the first place. The intimacy of the work! When I'm carving or I am working a joint with some handtools I am totally involved with the work I am 100% focused on what I am doing, I am concentrating on this part till it is finished then moving on to the next part and so on thought the piece. This process let me enjoy the tools as well as the work.
Now, if you have ever worked on a large job especially if you are building that job in your own shop and you are responsible for the finished product being able the enjoy the process is a real pleasure. Normally if I am building a big job, say like a kitchen or a large set or office cabinets, I have show much on my mind that I stop finding pleasure in working with my tools any more. Instead my mind full of all the what ifs? This time is always being taken up by worry, I worry about all the many pieces of the job coming together. I worry about if I planed well enough. I worry about did I cover every thing in my bids. I worry about will the finish match the samples. I worry about did I do the take off right. I worry about will there be any delays in my material schedule and what will I do if there is. I worry that the architect or home owner will change something and not tell me. oh god I hope none of the carpenters on the job screwed anything up. I worry about getting sick or hurt. oh no my saw sounds funny I hope the bearings don't go out on me. The worry can just go on and on and on where just enjoying the simple process of building a fine piece of furniture or cabinets is no longer a pleasure. All the things I mentions above have happened to me at one time or another and while I learned to deal with them they always stick in my head as a constant little worry.
Now, I stand at this new bench, and use my hand tools just like when I was a boy, none of the old worries come to my mind, and again I find that I am 100% there with just that tool and that piece of wood. The rest of world just faded away and when I do screw up I get me another cup of coffee and sit at my computer and plan how I'm going fix it.
What I build now I build for me, and I am the only one I have to please and my pleasure comes from the wood and the tools and the journey to the finished piece but not the finished piece.
Joey
Friday, January 28, 2011


Tuesday, November 2, 2010
Cherry and Walnut Table SDC 2010 Build Challenge
This is my entry for the Sawdust Chronicle's, 2010 Build Challenge it is a 25" x 25" x 18" Cherry and Walnut table (Surfaces).
 | ||||
| SketchUp Design |

 |
| Finished Table |


Well, since Sunday October 24th, I have manged to finish my table for the Sawdust Chronicle's Build Challenge. Well actually I build two tables the first one was a prototype that gave me the inspiration for the final design on my second table.
 |
| matching wood grains |

 |
| splines cut in miters |

 |
| smoothing out saw marks |

 |
| homemade wedge vice |

 |
| clamping miters |

 |
| shooting the foots |

 |
| 3/8" steps |


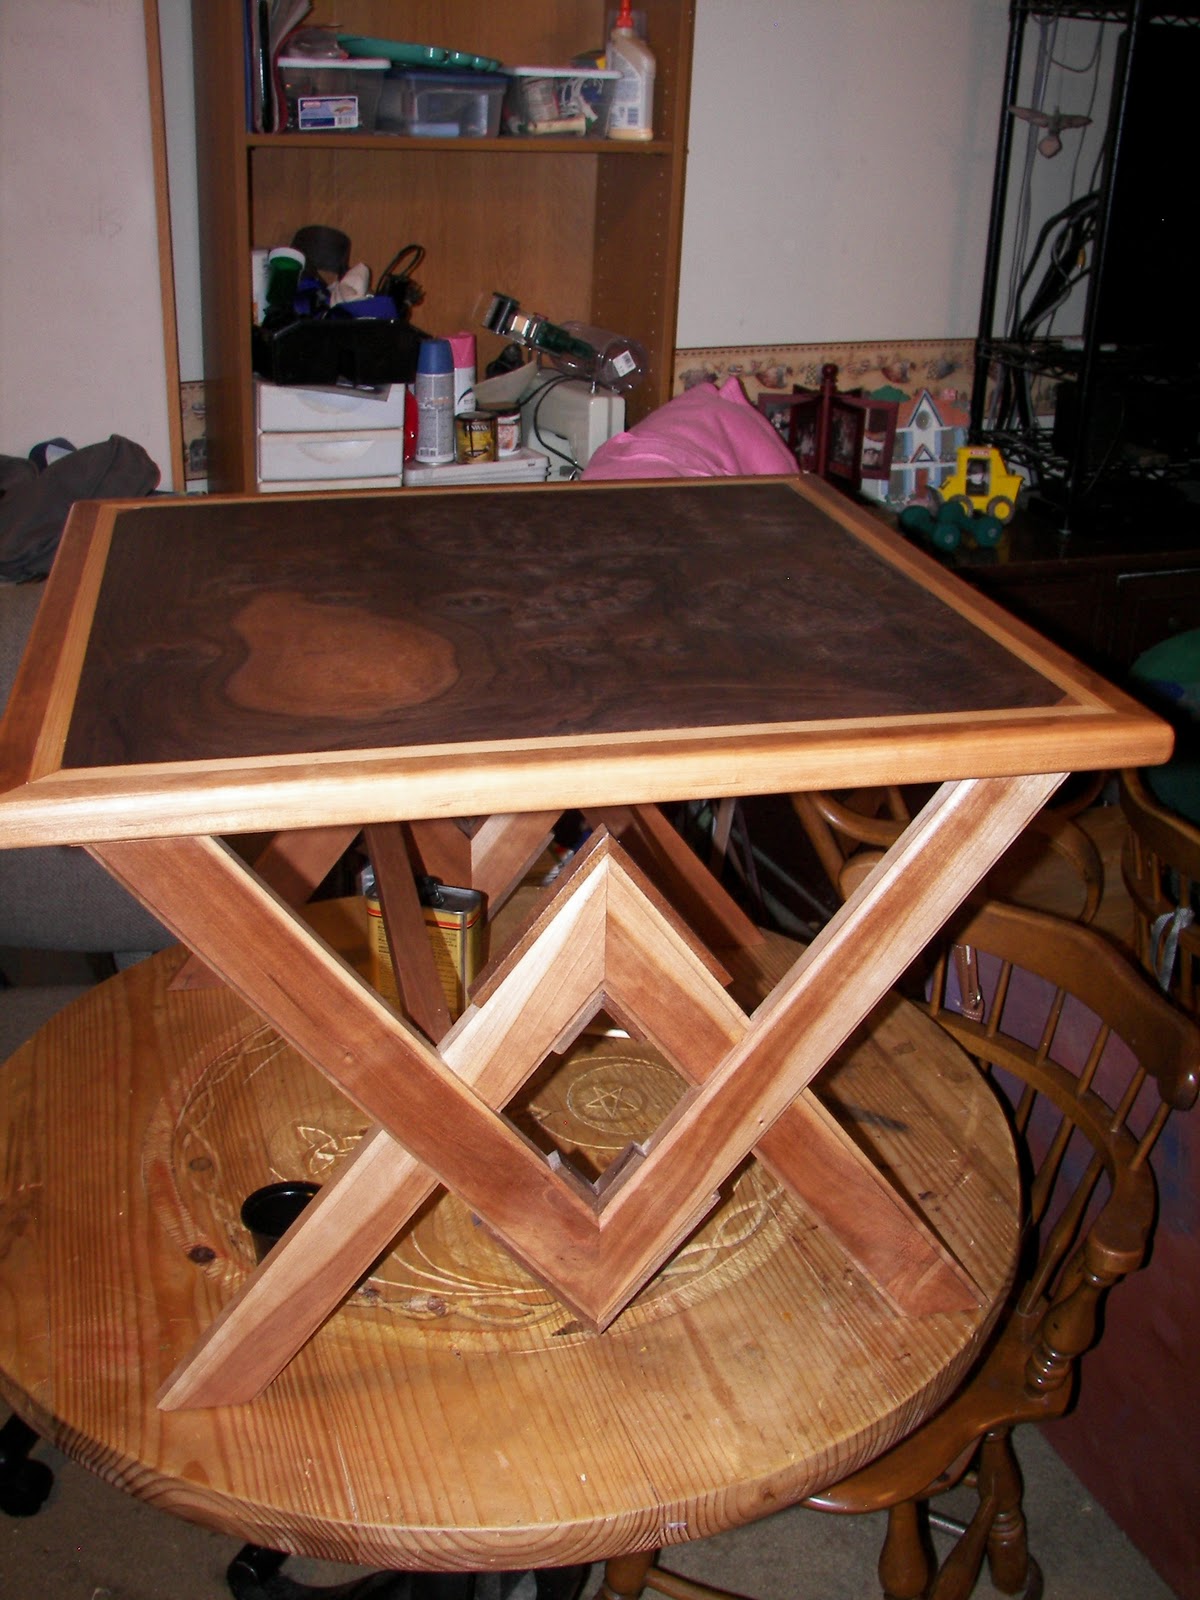


The top is a piece of 3/4" plywood trimmed in cherry with a band of pine and in the center is a piece of walnut burl, I order some more decorative banding that I had planned on using, but it didn't come in the mail in time, so I used the pine because it is what I had on hand. Maybe one day I will route in the banding and do a in lay in the center, because my wife has all ready said this is her table.


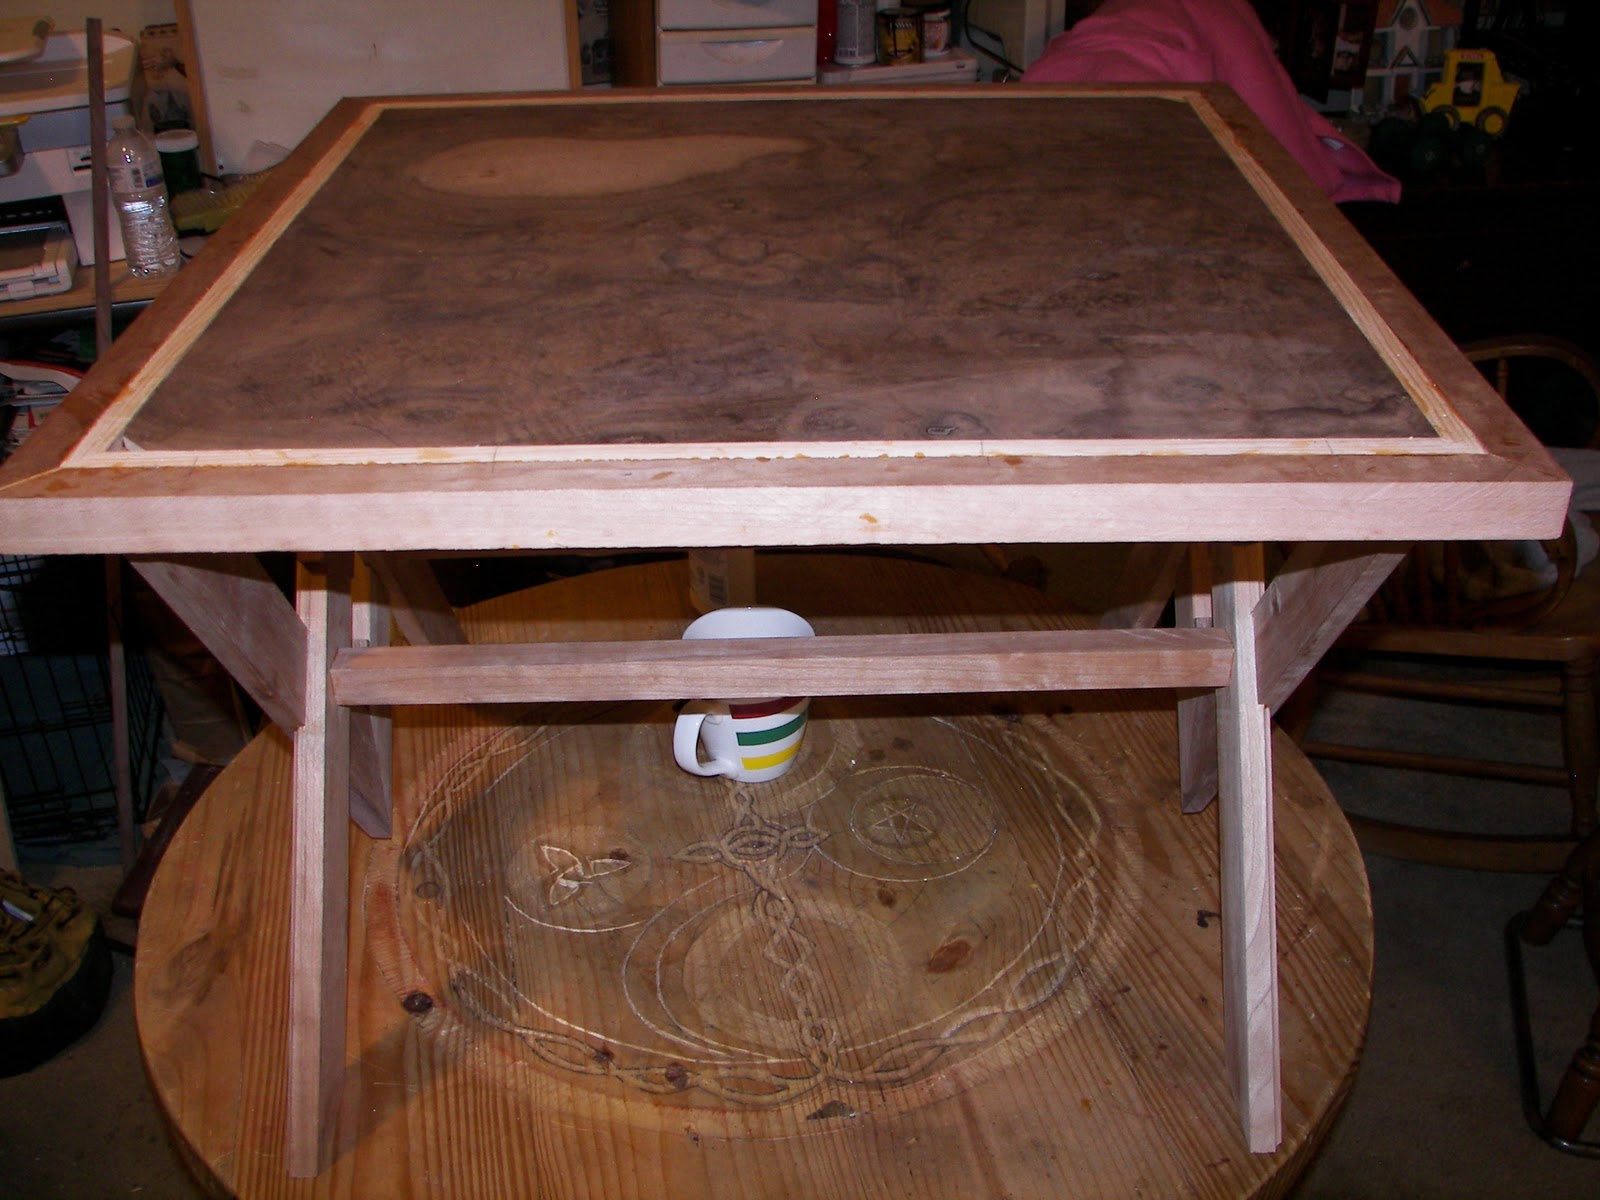
I used
2 bdft cherry,
3 ft 1/2 x 3/8" of walnut,
4 ft 1/2 x 1/4 pine,
4 sq ft of walnut burl
4 sq ft of 3/4 plywood
all of which cost me $ 5.00 at an auction I went to last year, I spent $11 on finish, I ended up using Minwax's Wipe-on Poly. I did manage to buy two wooden shoulder planes that I used for this project and a Stanley #45 that I didn't use, (but don't tell my wife) all for $30.00


 |
| trimming the top |

The biggest challenge besides designing which was a lot of fun for me, has been working without a shop. I build both of these table out side or when I could inside sitting at our craft table by my computer.I carry my tools outside and set them up, do my work then pick everything up and bring it back in. I do most of the big and messy stuff outside and inside I cut all the small parts with a hand saw and then adjusted miters with a shooting board. The day I planned on doing all the joinery was the day we had the tornado's and we lost power all day so I ended up doing all the joinery with handtools, which was ok with me accept the wind was blowing and it was cold, reminded me of my days as a carpenter. All in all I have really enjoyed this challenge although I wouldn't recommend waiting till the last week to change your mind and start over, but working under them kinds of deadlines are really nothing new to me actually I think I work better that way sometimes. I hope everyone that entered has enjoyed themselves as much as I have and got something out of this I know I did and I just want to say Thanks to Rick and Neil for all you guys have done.
This is my first design a folding saw stand
 |
| my 1st design |

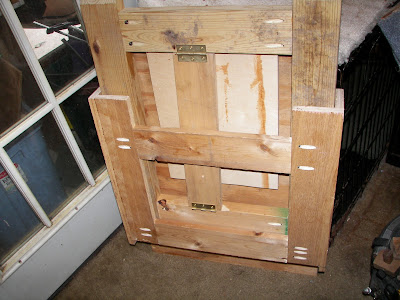
I did want to mention my prototype table or my Z table as I call it. it was what had in mind at first. living in a small apt I just wasn't sure what to build that we need and my plan for it was to use it as a saw table for my portable table saw. after I got it build my wife borrowed it for some crafts she was making for the craft show we were in on Oct 23, so I never did get to use it for my saw, but she tells me it works great. It folds up nice and flat and will hold my weight which is pretty good, I have a couple of tweaks I want to make on it, but will have to wait till next week.
The design is a good one and it can be made into a nicer looking table for camping, patios, or for just for a tool stands.
 |
| without the top for a better view |
 |
| finally in use |

 |
| folded up |


 |
| the finished prototype or Z table |
Thanks for looking, and I hope everyone enjoyed my little tables and have a peaceful day.Joey
Monday, October 25, 2010
Build Challenge Update

So a couple of weeks ago I designed what I am calling my X table, it was inspired by my Z table, but a lot nicer. I cut most the piece last week and then had to put them away while I finished up some work on some wooden crafts my wife and I where doing for a craft show this pass weekend. We did OK, I got a couple of commissions for things and a sold a custom flute.
Today I did get the legs all glued up, and tomorrow I hope to finish the half laps and get most the base out of my way, the top is mostly done I still have some fusing to do with it, but what has my butt in a kink is doing the finish. I work outside in the yard and it has been so windy I might have to use oil instead of the water base poly that I was planning, or find someone who will let me use their shop to spray it in.
Sunday, October 10, 2010
Shop Tour


Well thats my shop! I hope to show how I make the best use of what I got. I know it doesn't look like much but you will be surprise what can be accomplished with it, remember it's not always what you got, but how you use it.
I have always found the best way to work is to keep it simple, efficient, use quality tools that can be used for more that one purpose, keep your tools sharp and well maintained, and do the type of work you enjoy.
Have a peaceful day
Joey
Thursday, September 16, 2010
New Table Saw

I got a new saw last month and have finally gotten a chance to do some work with it. so look for a complete review in a week or two of this Ridgit 10" portable bench top table saw. I can tell you so far I have been quite pleased with it!
Joey
Sunday, September 12, 2010
Change of Focus
Theres a change in the air as fall comes to Ohio and here at The Sleepydog Wood Shop. When I started this blog my focus was on starting a day to day working shop, but then the economy went south or somewhere and the shop never happened, and with the way things look now with my health it never will. Over the summer I finally accepted that I am not going to have a shop for a while if ever and started working on a way of start doing more project in the space I got rather than what I was doing, which was saying, I will wait till I get a shop to build in.
Now working out of a closet should not be a problem for me since I was a carpenter, it's no different than working out of a truck, so I am ahead of the game there. One of the first thing I started doing has been downsizing my tools which meant selling most my large shop tools and buying bench top tools to replace them and more hand tools. The next thing I want to do is change the focus of this blog to help the numerous other woodworker out there who work without a shop just like me. I really want to start including some video, but not till I can do it the right way, I do not want to but crappy video on my blog just for the sake of butting up content. I always welcome comment, suggestions and thought from you guys out there and I hope to keep improving my blog in the future, so if your out and your reading this drop me a line even if its just to say hi, or go to hell.
Heres to great and peaceful day
Joey
Saturday, September 11, 2010
Sawdust Challenge Build Pt 2

Doing a 1/2 scale drawing on a piece of plywood is not something I normally do for project like this, but I have been trying to show my grandson's how things are designed and build from idea to finished piece; however, doing the drawing did show me a couple of possible spots that are going to cause me some trouble. I noticed that I going have a tough time driving the screws for the hinges in the two upper leg sections because of the steep angles. Now that I know this and will not come as a surprise to me I have time work something out before I build it, and with building the model I can play with what will work and look the best, something you really don't want to do with the finished piece.
Joey
Subscribe to:
Posts (Atom)