This is my entry for the Sawdust Chronicle's, 2010 Build Challenge it is a 25" x 25" x 18" Cherry and Walnut table (Surfaces).
SketchUp Design
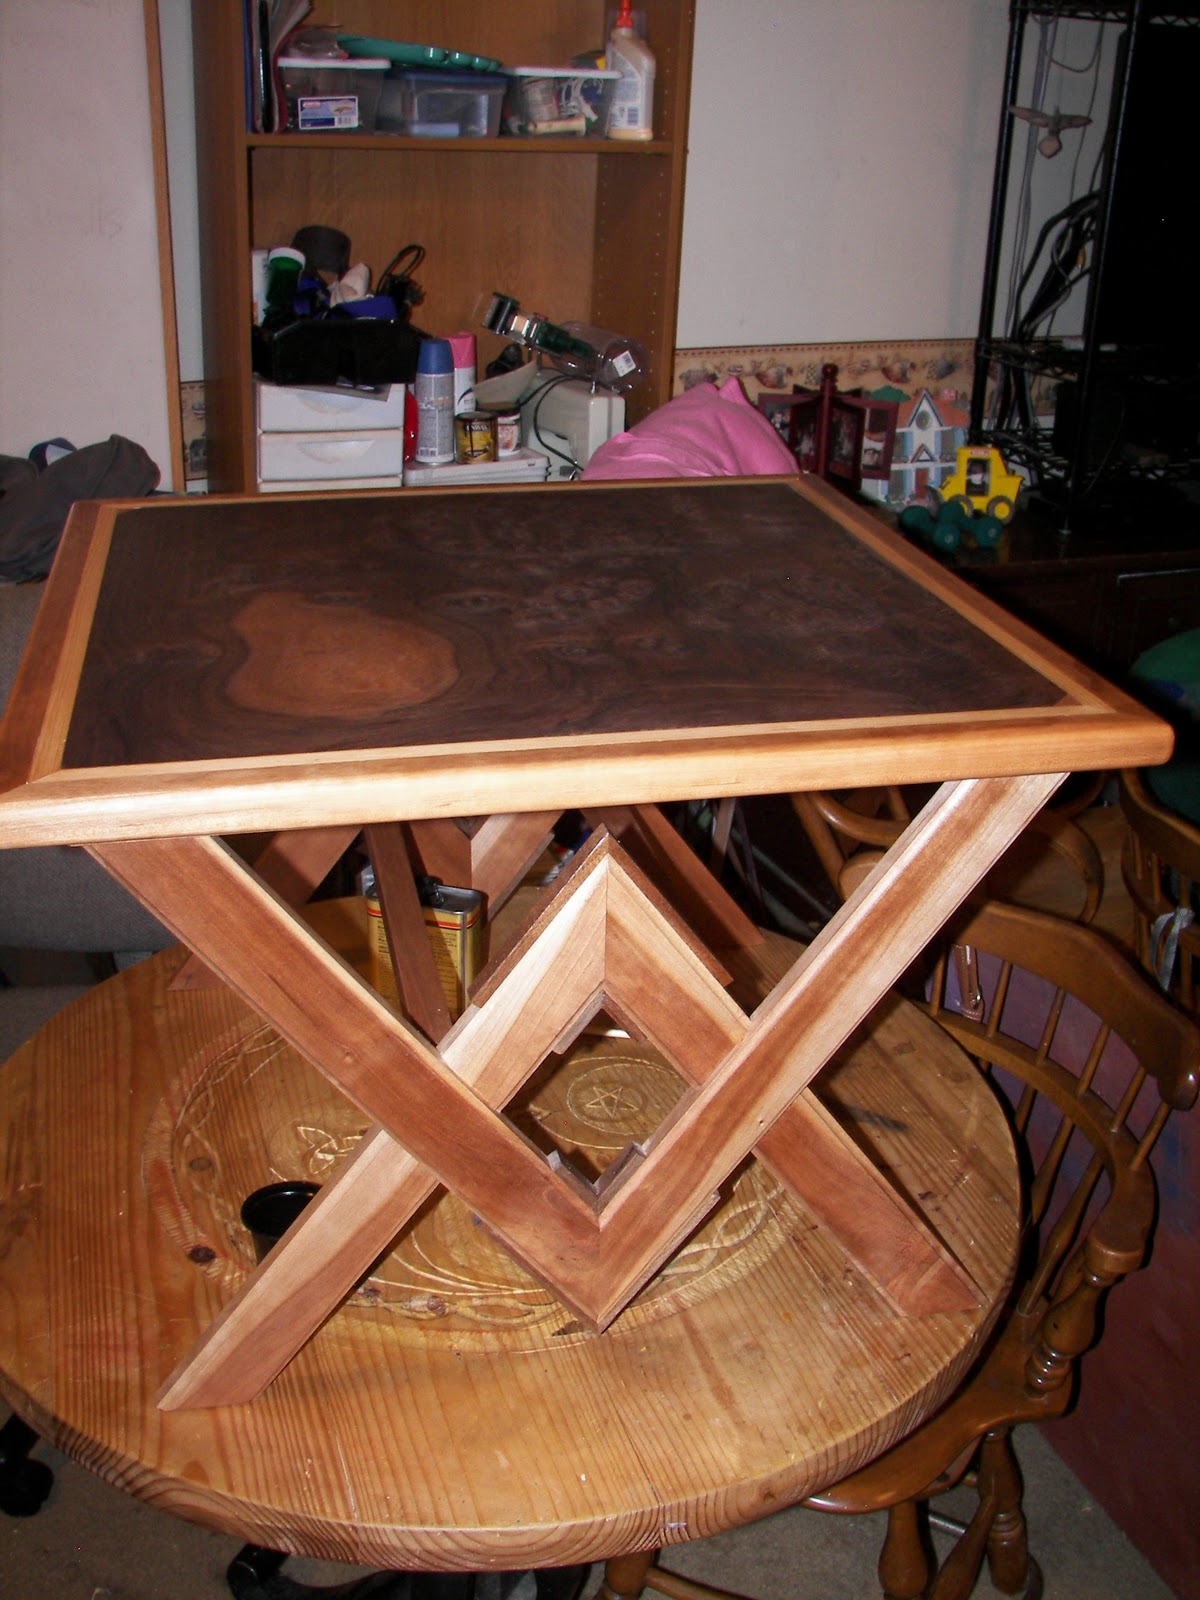
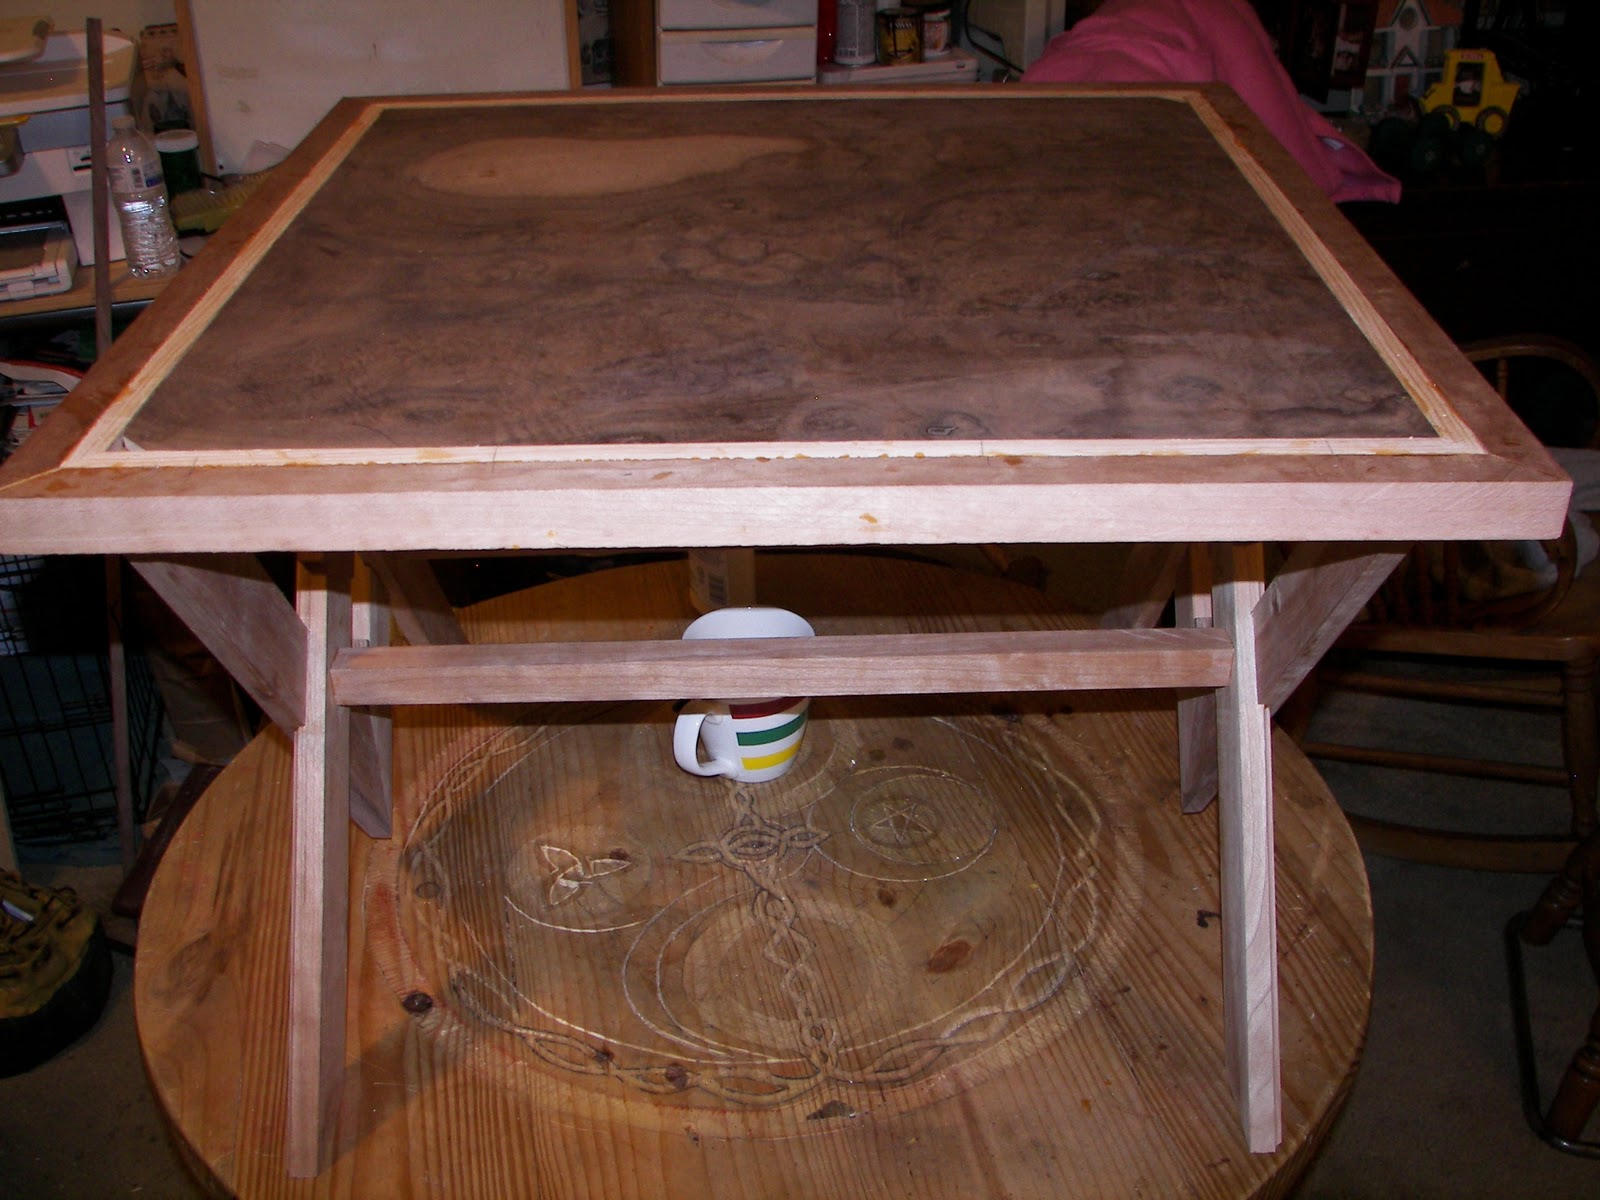
Finished Table
Well, since Sunday October 24th, I have manged to finish my table for the Sawdust Chronicle's Build Challenge. Well actually I build two tables the first one was a prototype that gave me the inspiration for the final design on my second table.
matching wood grains
splines cut in miters
smoothing out saw marks
homemade wedge vice
clamping miters
shooting the foots
I was going for lots interesting surfaces and negative spaces. I could made the intersection of the V on the legs a 90 degrees, but that would of gave me a square and I was going more for a diamond. so I cut the miters at 52 degrees and then splined them together for strength. I used oak and ran the oak at a 90 degrees to the spline so it wouldn't split down the grain line. Next the two V sections are halve lap together at the mid point, but not all the way. I cut the lap at 3/16 in both sections so that there would be a 3/8" step giving the legs the appearance that they are 1 1/8 " thick. I added a cove to soften the angles and added the walnut piece to highlight the diamond. Where the V sections are joint there are two 1" sq rails that connect the two leg section.u
3/8" steps
The top is a piece of 3/4" plywood trimmed in cherry with a band of pine and in the center is a piece of walnut burl, I order some more decorative banding that I had planned on using, but it didn't come in the mail in time, so I used the pine because it is what I had on hand. Maybe one day I will route in the banding and do a in lay in the center, because my wife has all ready said this is her table.
I used
2 bdft cherry,
3 ft 1/2 x 3/8" of walnut,
4 ft 1/2 x 1/4 pine,
4 sq ft of walnut burl
4 sq ft of 3/4 plywood
all of which cost me $ 5.00 at an auction I went to last year, I spent $11 on finish, I ended up using Minwax's Wipe-on Poly. I did manage to buy two wooden shoulder planes that I used for this project and a Stanley #45 that I didn't use, (but don't tell my wife) all for $30.00
trimming the top
The biggest challenge besides designing which was a lot of fun for me, has been working without a shop. I build both of these table out side or when I could inside sitting at our craft table by my computer.I carry my tools outside and set them up, do my work then pick everything up and bring it back in. I do most of the big and messy stuff outside and inside I cut all the small parts with a hand saw and then adjusted miters with a shooting board. The day I planned on doing all the joinery was the day we had the tornado's and we lost power all day so I ended up doing all the joinery with handtools, which was ok with me accept the wind was blowing and it was cold, reminded me of my days as a carpenter. All in all I have really enjoyed this challenge although I wouldn't recommend waiting till the last week to change your mind and start over, but working under them kinds of deadlines are really nothing new to me actually I think I work better that way sometimes. I hope everyone that entered has enjoyed themselves as much as I have and got something out of this I know I did and I just want to say Thanks to Rick and Neil for all you guys have done.
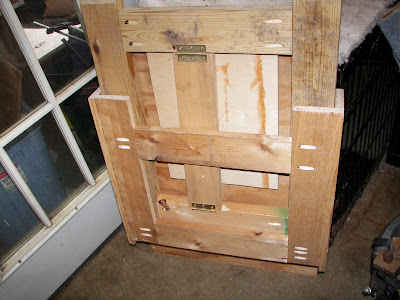
This is my first design a folding saw stand
my 1st design
I did want to mention my prototype table or my Z table as I call it. it was what had in mind at first. living in a small apt I just wasn't sure what to build that we need and my plan for it was to use it as a saw table for my portable table saw. after I got it build my wife borrowed it for some crafts she was making for the craft show we were in on Oct 23, so I never did get to use it for my saw, but she tells me it works great. It folds up nice and flat and will hold my weight which is pretty good, I have a couple of tweaks I want to make on it, but will have to wait till next week.
The design is a good one and it can be made into a nicer looking table for camping, patios, or for just for a tool stands.
without the top for a better view
finally in use
folded up
the finished prototype or Z table
Thanks for looking, and I hope everyone enjoyed my little tables and have a peaceful day.
I love your design but I really love your execution of it. The use of sapwood to emphasize the 'v' shape of the legs is wonderful and that burl top is to die for. Congrats.


1 comment:
I love your design but I really love your execution of it. The use of sapwood to emphasize the 'v' shape of the legs is wonderful and that burl top is to die for. Congrats.
Cheers --- Larry "aka Woodnbits"
Post a Comment